 WaveDesk
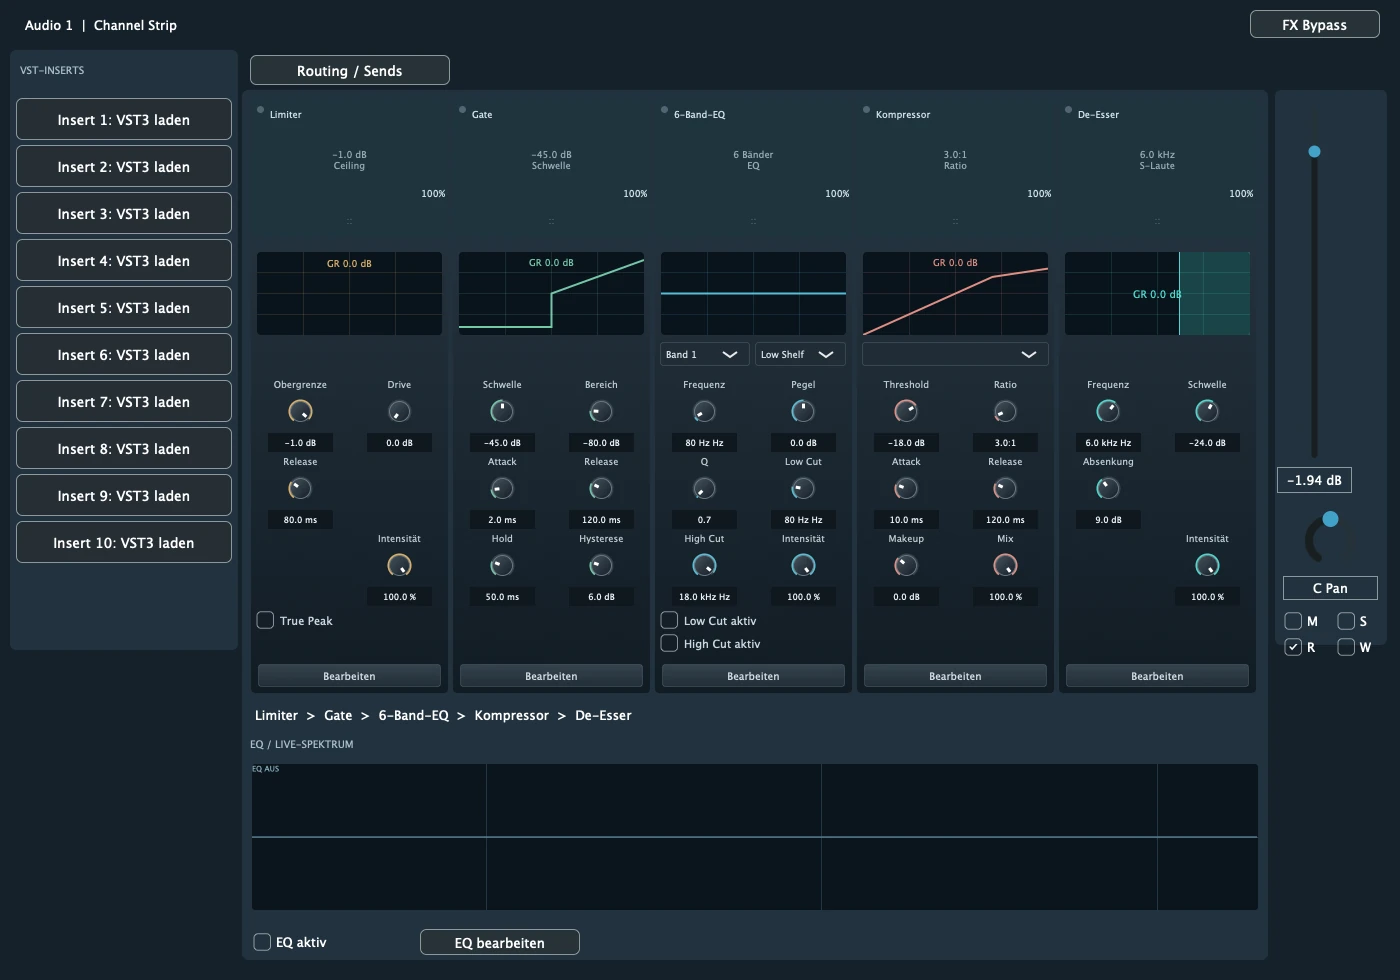
Assess the vocal in the arrangement
First adjust clip and channel levels so you can assess the vocal together with the instruments. Listen to a complete passage, not just isolated words in solo. Describe the problem as specifically as possible: Is the guitar masking the vocal? Do individual syllables jump out? Is the reverb too dominant?
Recordings that are already clipped or very noisy cannot reliably be repaired with an arbitrary channel preset. If a passage can be recorded again, compare that option with extensive processing. The recording guide helps you check the signal path beforehand.
Make targeted adjustments with the 6-band EQ
Open the graphical 6-band EQ and first address the frequency range causing the identified problem. Gently cutting troublesome areas may be more useful than making several broad boosts. The right frequency depends on the voice, microphone and arrangement.
Check every adjustment with the accompaniment. If the voice sounds thinner on its own but clearer in the mix, the processing may still be appropriate. If it becomes harsh or loses body, ease back the adjustment and check whether a competing instrument actually needs to make room.
Control dynamics with the compressor
A compressor can reduce level differences between quiet and loud passages. Set it using a representative section. Listen for whether the words become more consistently intelligible or whether expression and natural attacks are lost.
Compare processed and unprocessed signals at similar perceived loudness. A louder output can quickly seem more convincing without solving the problem. If the voice pumps or word endings are boosted unnaturally, reduce the processing and check the timing parameters.
Add space through a shared reverb path
Use an FX bus or shared reverb path and send an appropriate amount of the vocal to it. This lets you connect several tracks in a similar space. Keep the direct vocal clear and adjust the reverb in the context of the song.
Pre-delay can separate the attack from the space in time. A long tail fills pauses but can quickly obscure the next phrase. Check word endings and transitions. The sound workshop demonstrates a shared reverb path using AETHER.
Check the mix throughout the song
Listen to verses, choruses and transitions at a comparable monitoring level. A setting may suit a quiet passage but offer too little control in a dense chorus. Automation helps shape musical level changes precisely, rather than treating every passage with stronger compression.
Then check the stereo mix and an export outside WaveDesk. Listen for clarity, tails and accidental solo or mute states. Keep an identifiable project version so you can compare later changes deliberately.