 WaveDesk
Prepare the recording setup
Connect your audio interface to the Mac and your microphone to the appropriate input. Your microphone’s manual specifies whether it needs phantom power. Only enable it as appropriate for your microphone and interface. Use headphones so the accompaniment is not recorded again through the microphone.
Create a new project and save it before the first recording. Give the vocal track a clear name, such as “Lead vocal”. A short test run helps you check cables, inputs and the headphone mix before the actual performance begins.
Select audio devices and input
In WaveDesk, open the audio devices under “Studio”. Select your interface for input and output, and check which channels are active. Set a buffer size that allows your system to run reliably. A smaller buffer can reduce software monitoring latency, but places greater demands on the system.
Create an audio track and select the input your microphone is connected to. A single microphone is normally recorded through a mono input. The number must match the physical connection on your interface.
Set levels and monitoring
Include the loudest section in your test. Set the interface input level so this section does not clip. Lowering the channel fader later will not repair a signal already recorded with distortion. Leave headroom for louder syllables.
Choose a clear monitoring path. If you hear both the interface’s direct signal and the delayed software signal, the voice can sound doubled or phasey. Check which monitoring path should be active for your recording.
Record the first take
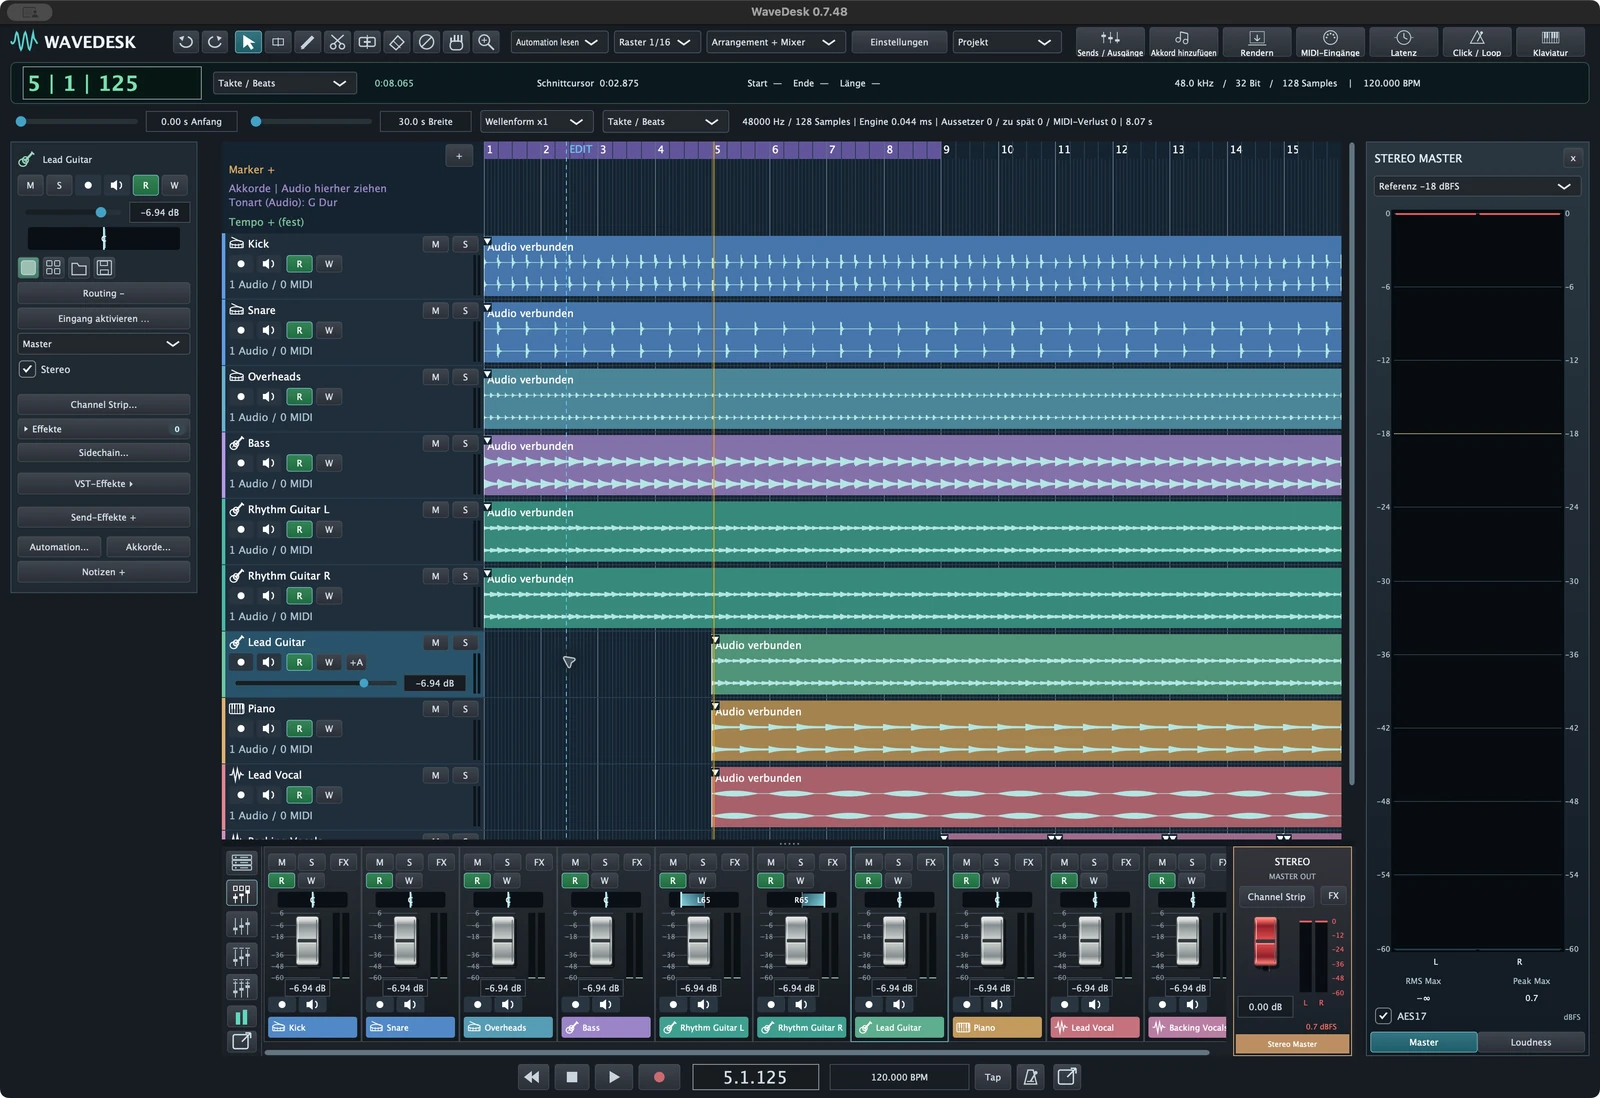
Arm the vocal track for recording. Before starting, listen briefly for unwanted noise and check that the correct track responds to the microphone. Start recording and sing the full passage. After stopping, the recorded clip appears in the arrangement.
Check the take together with the accompaniment. Listen for clarity, expression, clipping and unwanted background noise. Save the project before recording more passes. Loop recording and take selection let you collect alternative performances.
Troubleshoot common problems
No signal? Check the microphone cable, interface input, input assignment and record arming. If macOS blocks microphone access, also check the system privacy settings. A meter reading on the interface alone does not confirm the correct input in WaveDesk.
Is the voice delayed? Check the audio buffer and selected monitoring method. Crackles can indicate that the buffer is too small for your project. If you hear distortion, reduce the actual recording level and record the affected passage again.